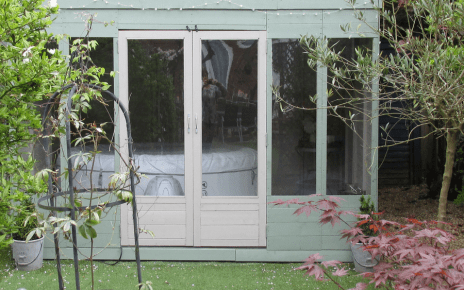
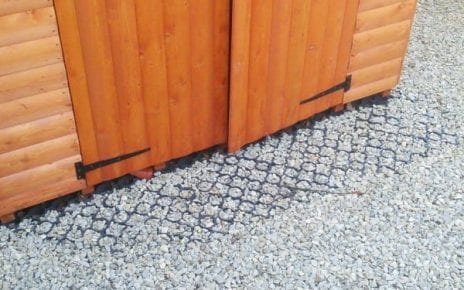
With summer almost behind us and the bad weather quickly approaching there has never been a more important time to ensure your Shed, Greenhouse, Log Cabin or other garden building is supported by the correct base. Winter is right around the corner and with winter comes rain and more bad weather increasing the chance of your garden building rotting. Our fully recycled plastic shed base allows rain to drain away naturally whilst allowing air to get to the shed away to stop any potential moisture from leading to rotten wood or rusty metal. Read on to see what base Paul used for his new wooden shed.
Jump To:
| The Project | The Work | Conclusion |
The Project
This case study begins with Paul having just purchased himself a new wooden shed for his garden. The only issue was that Paul didn’t already have a suitable base in place for the shed to be stood on. As his shed was available almost immediately he began searching the internet for the best solution to his problem. He considered a concrete base but it would have cost him a lot to have it installed or be very labour intensive to lay it himself, not to mention the extra time he would have to wait for the concrete to set properly. Paul then found our website and began to read up on our plastic base, after discovering that our base is strong, permeable and easy to lay he decided to order a base. 3 days later Paul received his 10ft x 6ft Plastic Shed Base (60 Panels) in an easy to manage parcel which he could simply move and store until installation day arrived.
Read on to see how Paul installed his base and shed;
The Work
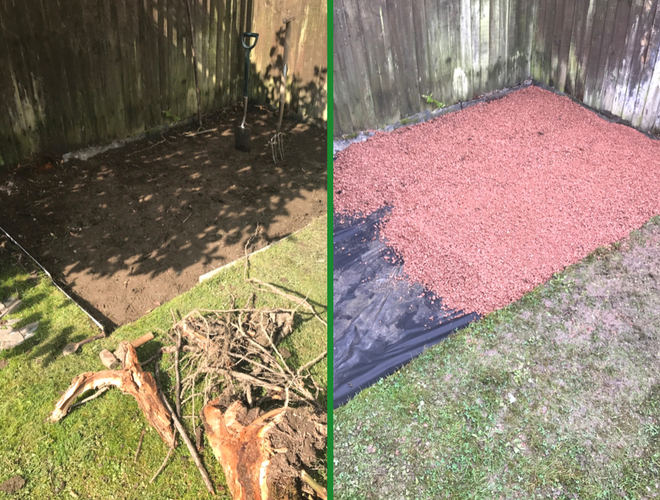
Paul began by planning out the full project, he measured out the full area of the base and outlined it on the turf using string where he wanted to install his shed. This outline gave Paul an area to dig out to depth of around 80mm so the base would sit a little higher than the rest of the garden. He removed the turf and soil and disposed of it responsibly.
Paul laid a sheet of Shed Base Membrane in the now cleared area. Membrane allows liquid to drain away naturally whilst acting as a barrier and protecting the base and shed from any weeds or plants attempting to grow up through the cleared area. He secured the membrane into the ground using Membrane staples to ensure there is no movement when the base is installed or if there is any wind.
With the membrane secured Paul laid a small layer of red gravel on top of the sheet. This was used to create a sub-base on which the shed base panels would be installed. Paul then compacted the gravel down to ensure there would be no movement or slipping when the panels were installed.
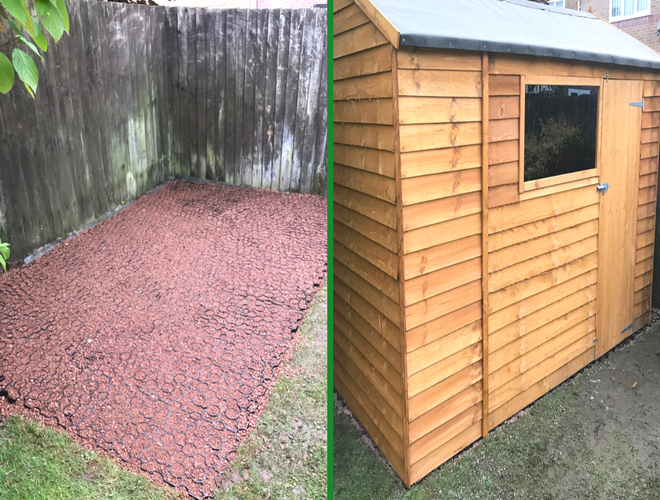
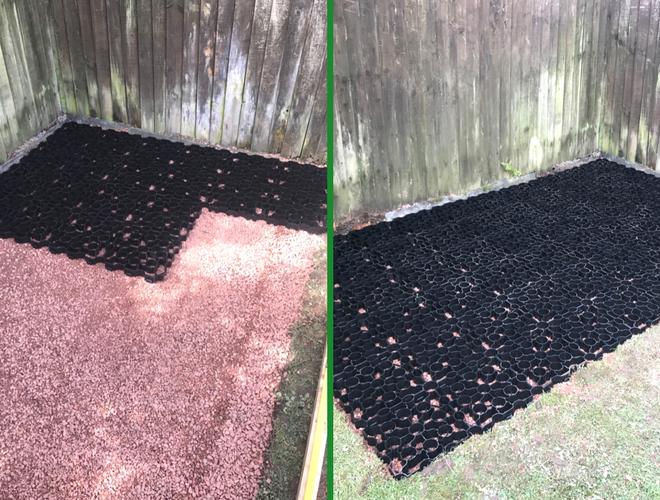
On top of the gravel, Paul began laying the plastic shed base panels. Starting in one corner and working his way across the entire area he laid one panel at a time and simply attached them together using our specially designed slot and peg system.
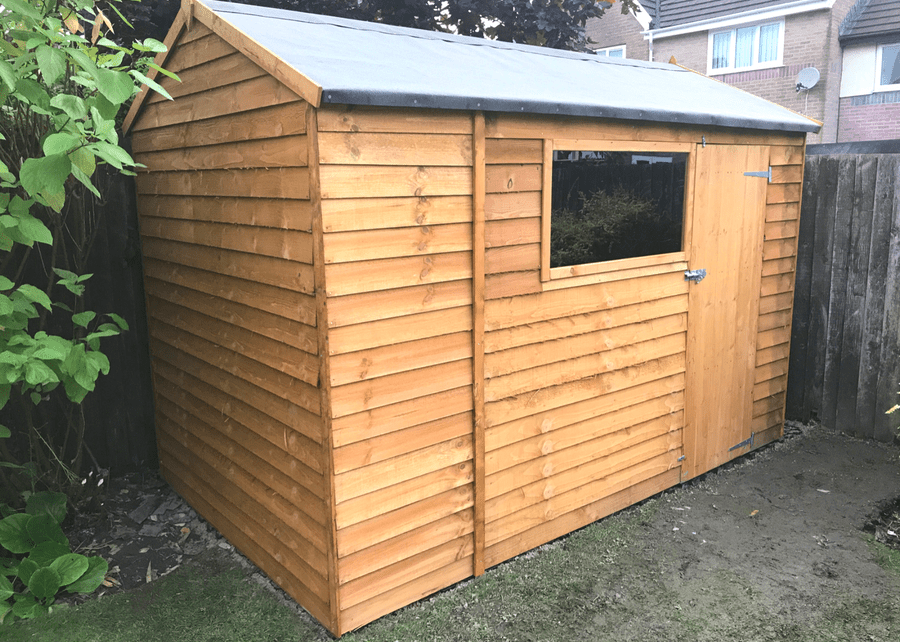
Finally, Paul filled the base with more red gravel (8kg per panel is required) and installed his shed on the base.
Conclusion
Paul was and still is incredibly pleased with his base and shed. The entire project was a great success and Paul’s shed now has a fantastic foundation for years to come. We would like to say a huge thank you to Paul for the fantastic images he shared to enable us to create this case study.
Should you have images of your installation to share or any questions regarding our products then please do not hesitate to contact us.
