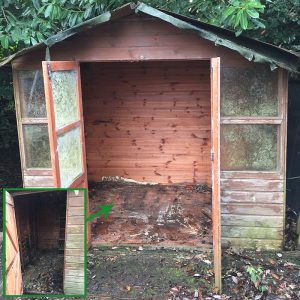
As seems to be the case with most new shed buyers, their old one has rotted away and a replacement is needed. This was exactly what happened in to the customer in our case study. After ordering a brand new shed they set about looking for a suitable base to prolong the life of their new garden building. Read on to see how they installed their new shed. This case study is from a customer, Fergus, who had purchased himself a new shed from Waltons to replace his now very old and rotten 20 year old shed that you can see just below.
To ensure his new shed lasted even longer he decided to find a new foundation that would help protect against moisture and rotting. This is when he came across our website and our fully recycled plastic base which is strong, easy to install, allows water to drain away naturally and increases the airflow beneath the shed to reduce the chances of rotting.
Fergus was so impressed with the product that he ordered a 10ft x 6ft Plastic Shed Base along with a Shed Base Membrane the same day which he collected from our warehouse in Chesterfield the next day.
Fergus took his base and membrane home in our easy to manage boxes that are packed by our warehouse team and stored it until the following weekend when he would begin his installation.
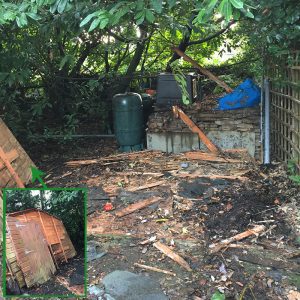
He began by removing his his old shed, which you can see on the photo to the left, and disposing of this carefully. This left him with a very dirty concrete base which needed to be cleaned up before he could begin the installation of his new shed.
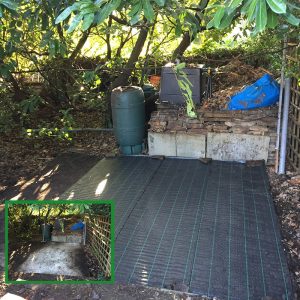
With the area now clear and exposing the concrete base, Fergus laid his membrane sheets over the slab and held this down with large rocks from his garden to ensure it would not blow away until the base was installed.
The membrane sheets are used to encourage water to drain away naturally whilst acting as a barrier to stop any weeds from growing up and through the base and reaching the shed and potentially damaging the wood.
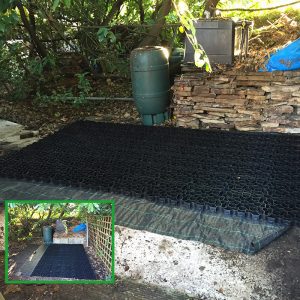
With the membrane secured Fergus began to lay his 10ft x 6ft Plastic Shed Base. He started in in one corner and laid one panel at a time. Connecting each piece together as he went along using the specially designed slot and peg system, this part of his project took no time at all. Thanks to the simplicity of our base and having no curing time unlike with concrete bases the entire installation can be finished in one day.
As he was going to be installing a wooden shed floor on top of the panels Fergus decided not to fill his base with gravel. Even when unfilled our plastic bases can hold up to 420 tonnes per square metre.
On top of the now installed base, Fergus laid a lifted plyboard wooden flooring and began building his shed. Starting with the walls, he screwed each side of the shed into the floor. Next was the roof, again screwing the wood on top of the walls and ensuring the entire structure was secure.
Fergus then slowly worked his way through the remaining shed instructions and could install his double doors, windows and begin storing his garden equipment.
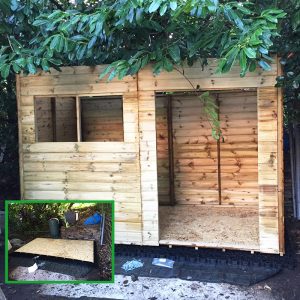
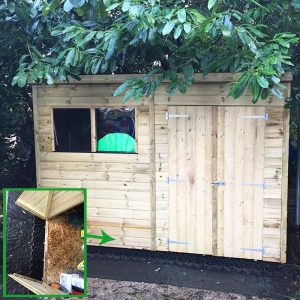
Fergus was and still is incredibly pleased with his new storage shed and fully recycled plastic base.
“Removing the old shed and clearing the floor was by far the hardest part, the plastic shed base was super easy to connect together and install! I would recommend it to all of my family and friends!”
To share your project with us or if you have any questions regarding our products then please do not hesitate to contact us.