With spring upon us and summer quickly approaching many of us glance over to our gardens which have been neglected throughout the winter months. If your garden is looking in need of a little TLC, why not get your restoration project underway as soon as possible using our Plastic Shed Bases? Using our base you can create a surface that, when filled, produces an almost invisible foundation on which to stand a brand new shed or summerhouse for everyone’s use throughout the summer months and beyond! This case study shows Brian giving his garden some TLC, read on to see what he did to make sure his garden is more than ready for the summer!
Jump To:
| The Project | The Materials | The Work | Conclusion |
The Project
After buying the family a Lay-Z Spa Hot Tub, Brian began looking at options of storing his new hot tub. After weighing up his options, he decided on erecting the spa within a summerhouse which they would build themselves. A big project and a lot of weight for the summerhouse foundation to hold, whilst researching his options for a base Brian discovered our website. Comparing our base with more traditional methods such as concrete bases (which can end up being very expensive to have laid by someone else or very labour intensive for yourself) and timber supports (which are susceptible to rotting without effective drainage systems), Brian decided our strong, permeable and fully recycled plastic base would carry the most benefits and so ordered a 10ft x 8ft Plastic Shed Base.
The Materials
When it comes to a project like this, our base is not the only product to be used and should you want to create your own garden building, you will need a comprehensive list of items used in this and other case studies;
First of all is our base, a 100% recycled plastic, easy to lay, permeable and able to hold up to 420 tonnes per square meter.
The second is a GeoTextile Membrane, this is a sheet layer that goes under the base. It allows water to drain away naturally whilst blocking weeds and plants from growing up and through the base. It also helps to keep the layers separate and adds a bit more stability.
Next is hardcore, this is a granular sub-base material that is laid under the membrane which is compacted down and creates a solid foundation on which to lay your base. The compacted material means there will be no unwanted movement from your base when weight is applied to it.
Finally is decorative gravel, which is used to fill the base. Due to its open structure, you can fill the base however you like but we do recommend gravel up to 20mm in diameter and angular gravel migrates much less than rounded gravel. This keeps the base permeable but also provides a nice aesthetic that can’t be achieved with plain, grey concrete slabs.
The Work
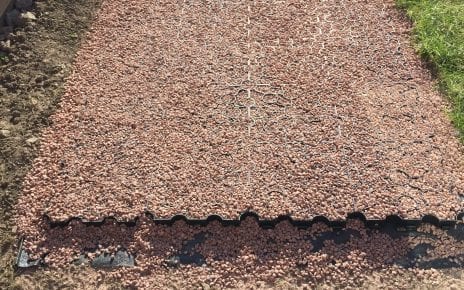
As you can see from the first photo in ‘The Project’ section, to start off Brian had dug down a small way both under and around the base. Although not necessary to dig everywhere in all projects, Brian did this so artificial grass could be laid around the garden once the summerhouse was installed fully. When installing the base we do recommend removing existing turf from the area and digging down to around 70mm. This allows for the base to sit with the existing ground.
Once the base area has been identified and dugout, lay the sheet of geotextile membrane in the ‘hole’ and secures it down using U-Pins to ensure the sheet doesn’t move around before or when the base is laid. With the membrane secured it is time to lay the base, Brian told us how easy this was for him to complete. The interlocking system is for ease of use and also so should you need to move a shed or extend it you can do so.
With the base, down and secure Brian set about building his summerhouse. With the supports and walls built first from locally bought timber, the finished article was starting to take shape. With the frame securely standing, the roof was next to be built and attached from the inside which allows you to ensure there are no gaps for water to leak in. Finally, the windows and doors were installed with the same size window panes included too.
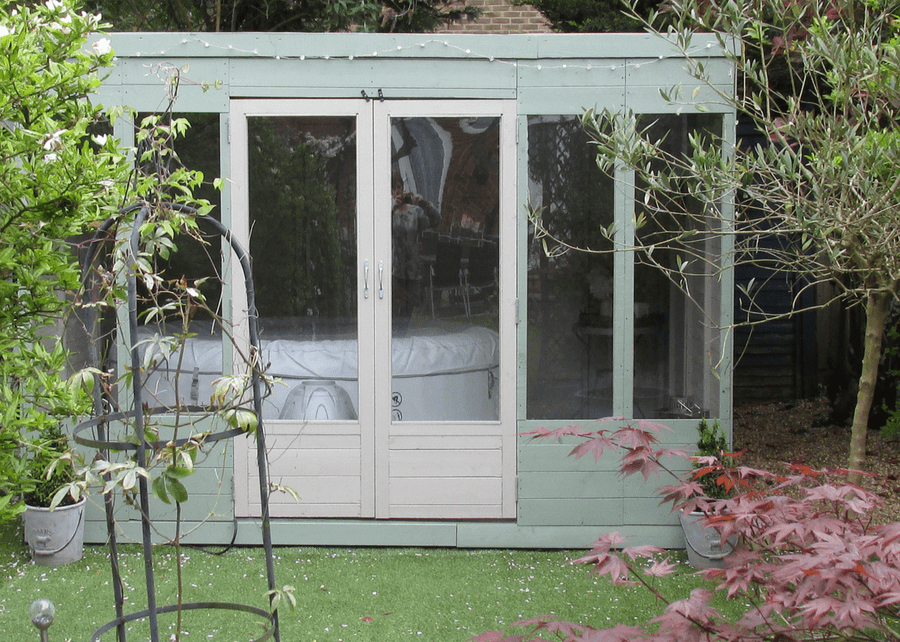
Finally, with the summerhouse looking fantastic, the Lay-Z Spa was put into the Summerhouse and the protruding base around the building was filled with decorative gravel.
For information or support in installing your Plastic Shed Base then read our Install Guide.
Conclusion
Now as you can see from the photos, Brian’s Summerhouse looks amazing.
We’re sure his neighbours are sneaking a look over the fence every chance they get to see his wonderful garden. Brain told us he chose our base for this project due to its eco-friendliness and also since it was incredibly easy for him to lay and would absolutely recommend it, it’s very strong and so easy to use.
We would like to say a huge thank you to Brian for choosing our base for his summerhouse and for sending in photos of his fantastic project.
Should you have any questions regarding our bases then please do contact us.


