With the recent heatwave that took the UK completely by surprise, there is no better time to be sorting out your garden. Whether that be planting some flowers, a little landscaping or installing a new shed or greenhouse. The slight drop in temperature means you can get any hard work done without having to stop every 5 minutes to cool down! Brenda did just that, read on to find out more about her summer project!
Jump To:
| The Project | The Work | Conclusion |
The Project
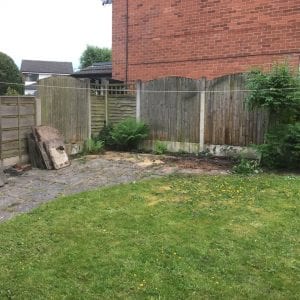
Brenda had recently ordered herself a new storage shed for her back garden. The only problem was that she had old paving stones and an old flower bed in the far corner of the garden where she wanted to have the shed installed. This is when Brenda began researching and shopping around online to find herself the best option for her shed foundation. After some googling and other searching she found our website and began to browse our Shed Base Kits and different sized bases.
Brenda decided to buy the 8ft by 8ft Plastic Shed Base and a sheet of Geotextile Membrane. She received her base and membrane at the start of June and thanks to the boxes we send our product out in, was able to store them until she was ready to lay the panels. Read on to learn more about the process Brenda went through to install her base!
The Work
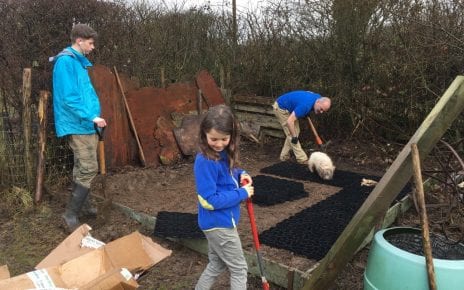
As with most Plastic Shed Base projects, Brenda’s started by measuring and outlining where her base and shed would be installed. This is done so you have a rough area that needs to be cleared and prepared before installing. From here the existing turf was dug out and removed from the area to create a ‘hole’ in which the base will be laid.
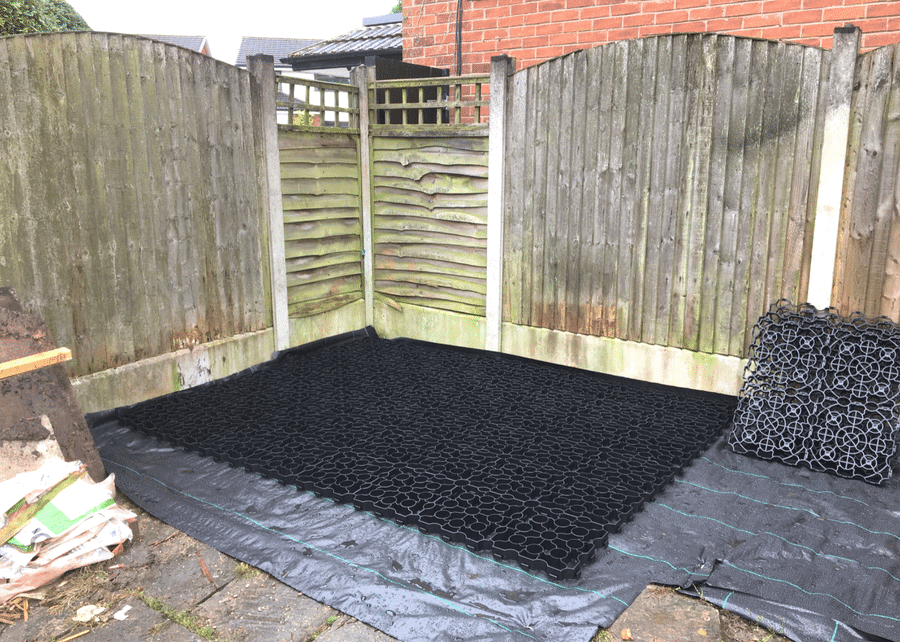
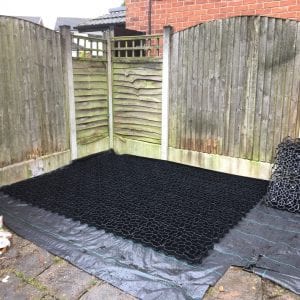
Next, the sheet of geotextile membrane is laid in the now-empty shed base area and secured down into the soil using Membrane Staples. Membrane is a permeable sheet that allows water to drain naturally away into the soil below whilst stopping weeds and plants from growing up and through the panels. Now, with the membrane secured it was time to install the panels. Starting in one corner and using the simple peg and slot system Brenda quickly and easily attached the panels together and laid them in the correct position until the excavated area was filled.
After the base was laid, Brenda filled the entire base with decorative gravel to create a soakaway system which means any surface water flows away from the shed to lessen the chance of your garden shed rotting. Around 8kg of gravel is needed to fill each panel of Shed Base fully so take that into account when buying your gravels.
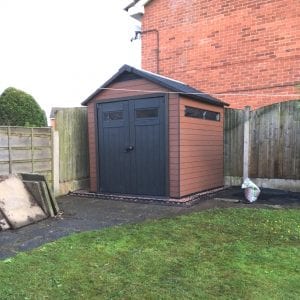
Finally, Brenda could place her brand new Shed onto her solid plastic shed base.
Conclusion
As you can see from the photos, Brenda’s project turned out amazing. Her base and shed look fantastic in the garden! Brenda told us how easy the base was to work with and install. She was very happy she didn’t have to be lifting and moving big heavy concrete slabs.
“I was pleased with the strength of the units and the ease with which they fitted together. The overall cost was £250 which was half the price quoted by a builder for building a concrete base. It was also very easy to complete the base without the heavy lifting required with flagstones.”
We would like to say a big thank you to Brenda for sending us the photos and information for us to make this case study! Should you have any photos of your shed and base or any questions regarding our products then please do not hesitate to contact us. For more customer reviews then have a read through our Blog Posts.
