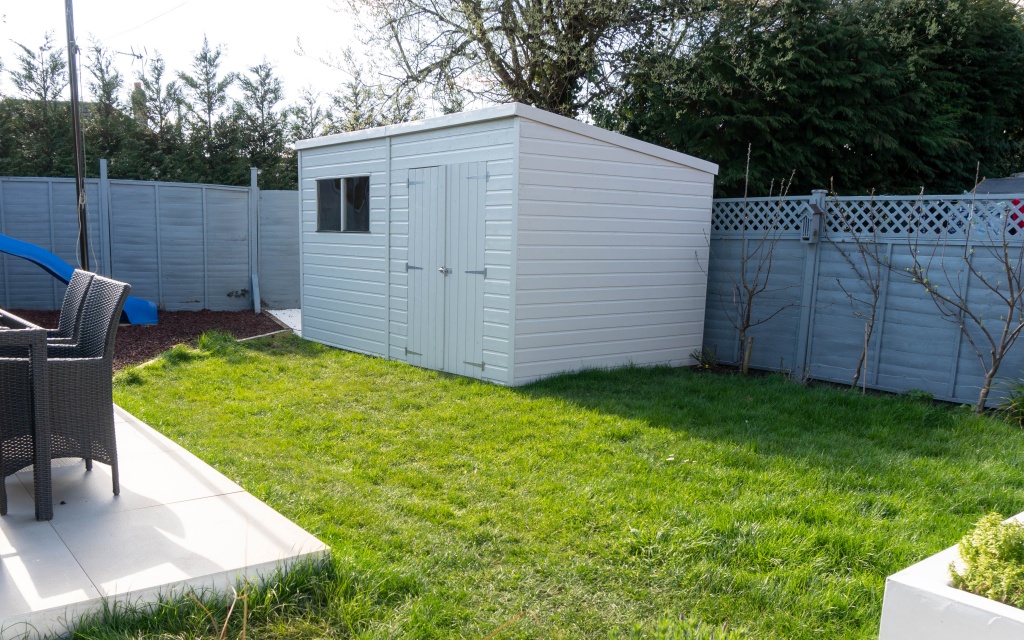
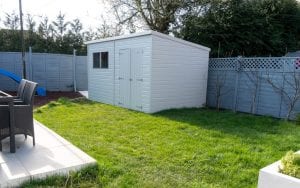
Our latest case study comes from Renovation Bay-Bee who used our 12ft x 10ft Plastic Shed Base as the foundation to her new Waltons Garden Shed. In this blog, we are going to follow Stephanie and her process she took in order to install her one hundred percent recycled plastic shed base. You can also follow the steps taken using the photos below.
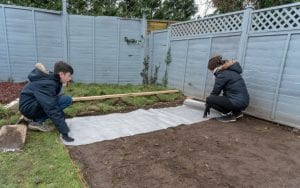
Step 3 - Pin Down the Membrane
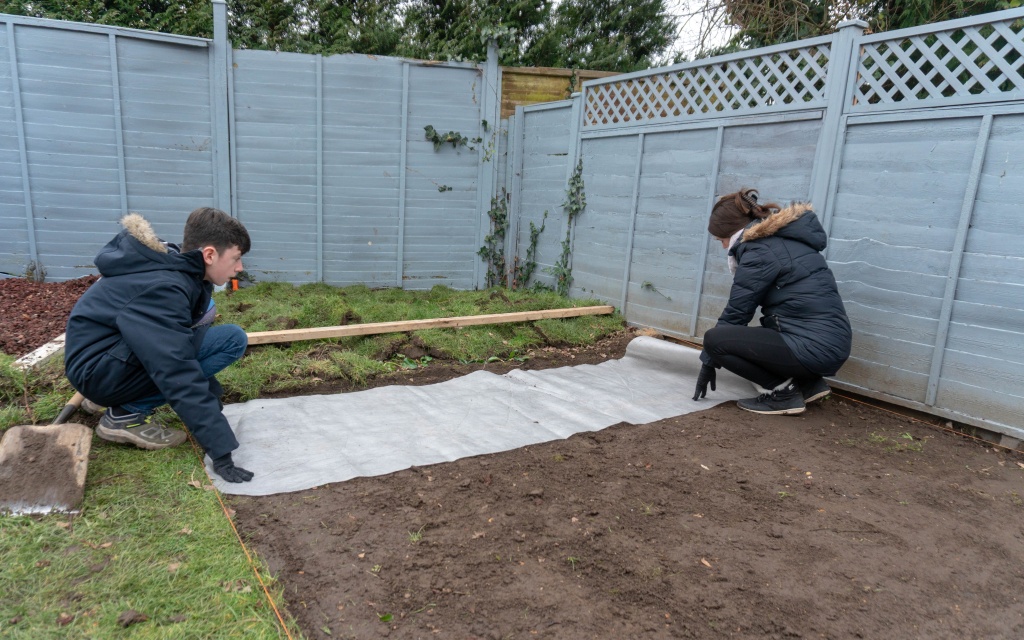
Now you need to roll out your woven geotextile membrane sheet and secure it into the ground below. This can be done by using pins or something heavy that can be moved when you move onto the next step. The membrane is used to prevent weeds from growing up and through the shed base whilst being permeable to allow water and nutrients to drain away into the ground below. (Photo 6)
Step 4 - Lay & Compact Sub-Base
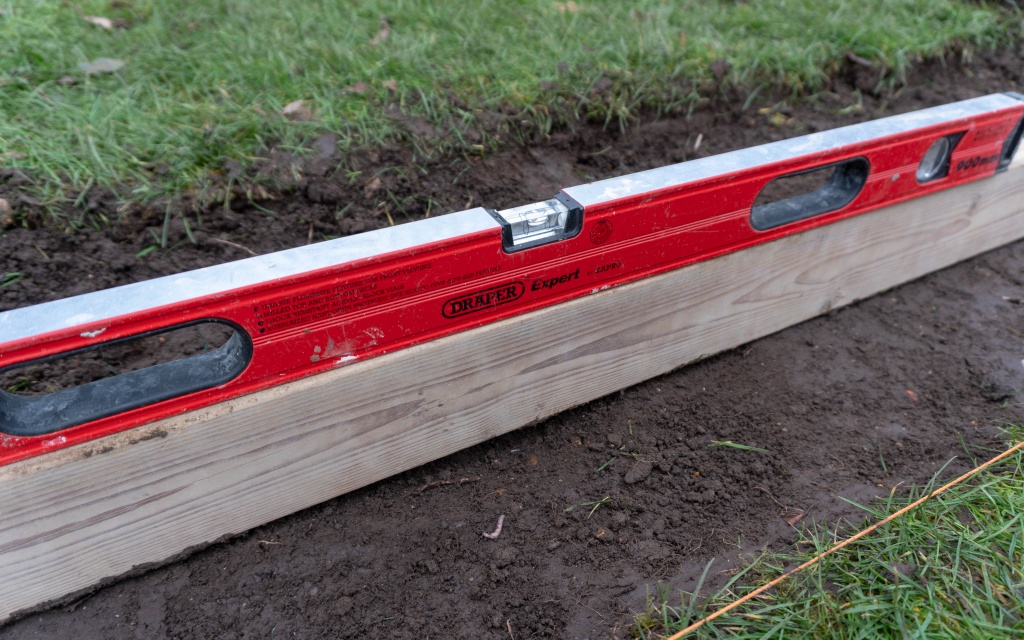
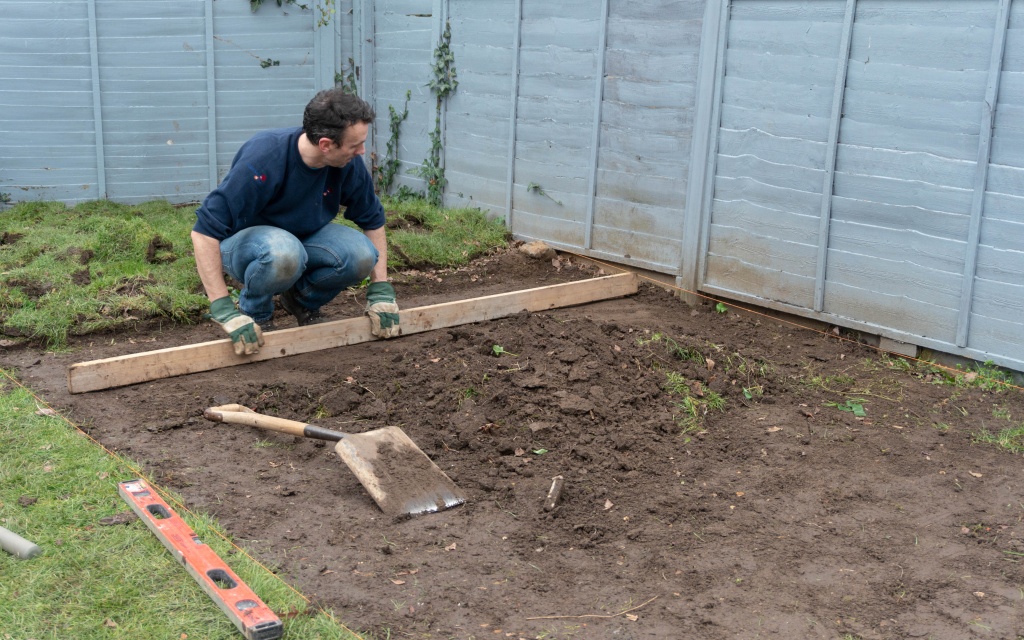
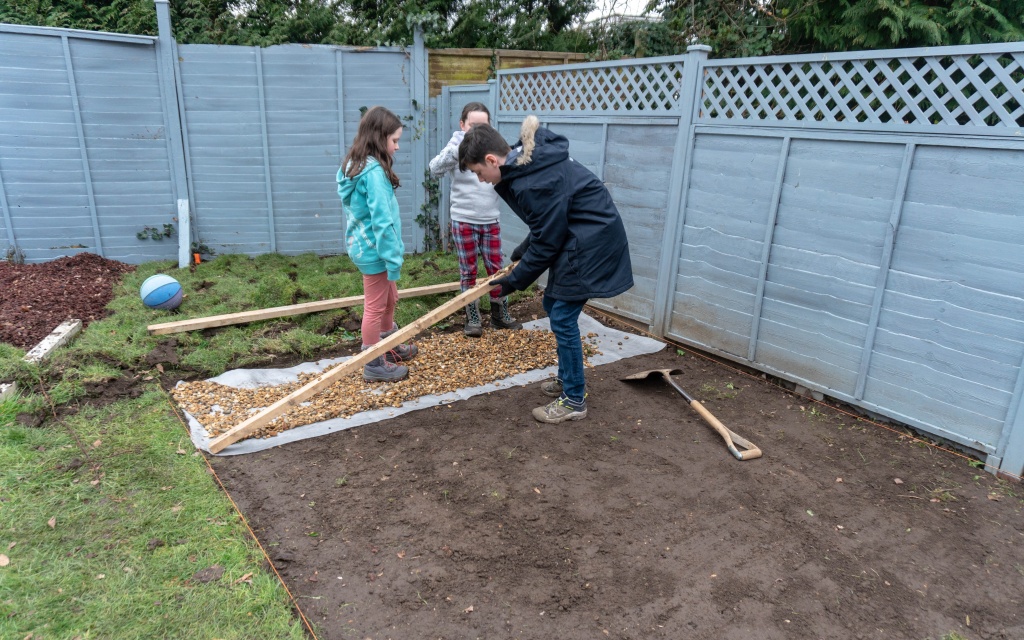
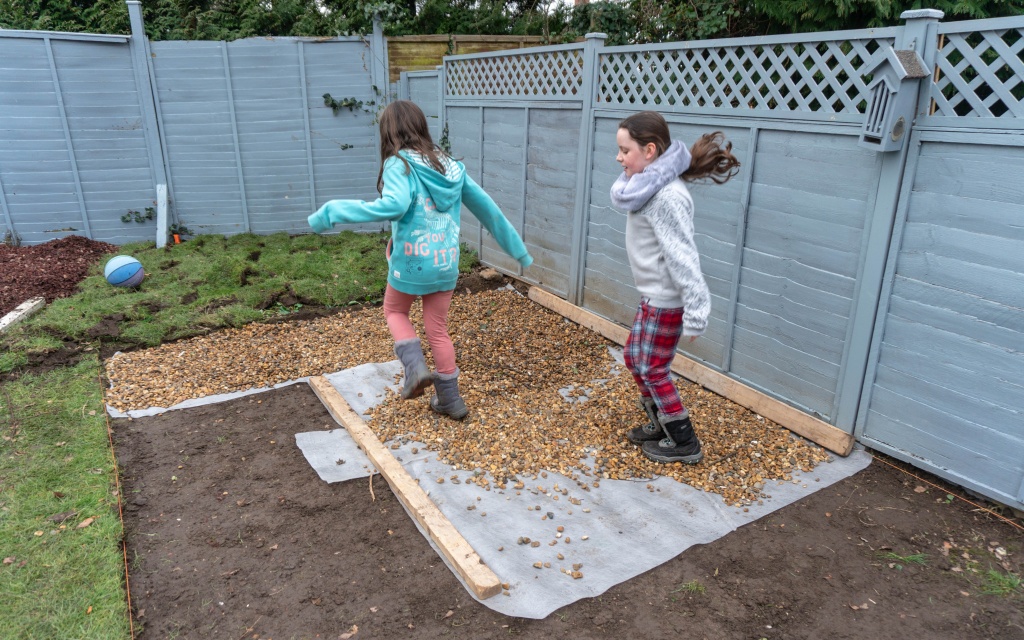
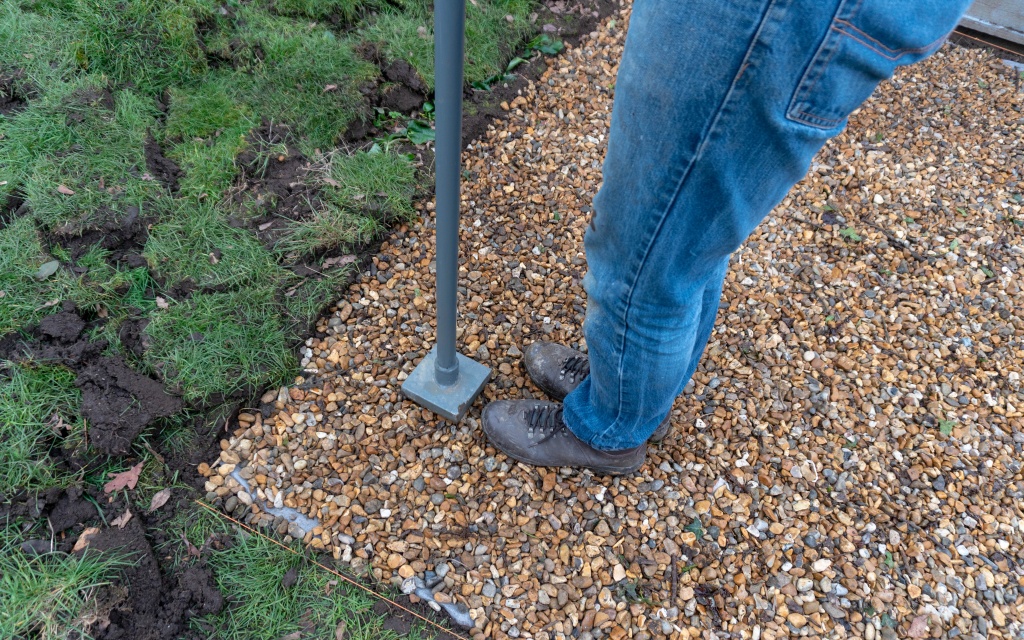
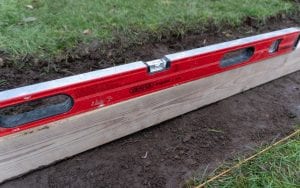
Next, you need to lay down a bedding layer of around 30mm in depth using 5-20mm diameter angular gravel or crushed aggregate. You need to compact this down well to ensure that the surface is as hard and level as possible. If required, you can level the area using sharp sand. (Photos 7, 8 & 9)
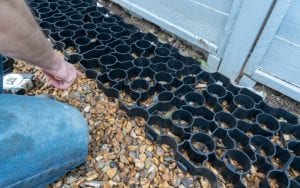
Step 5 - Lay Down Your Shed Base
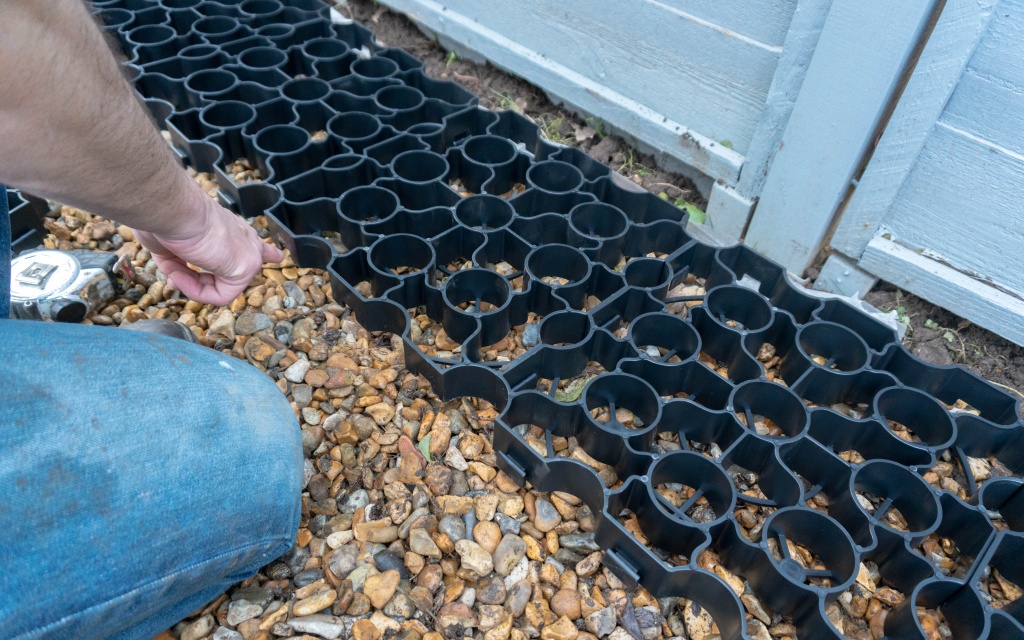
Your Plastic Shed Base will arrive packed with 4 panels connected together. This will create an area approximately of 660mm x 660mm. Each panel connect together using a slot and peg system. To start laying, place one panel in a corner of the hard & level surface. Then begin laying and connecting more panels together with the slot and peg connecting system until you have covered the required area. (Photo 10)
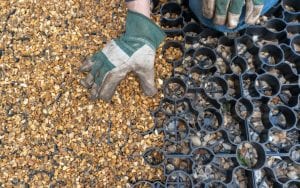
Step 6 - Fill the Panels With Gravel
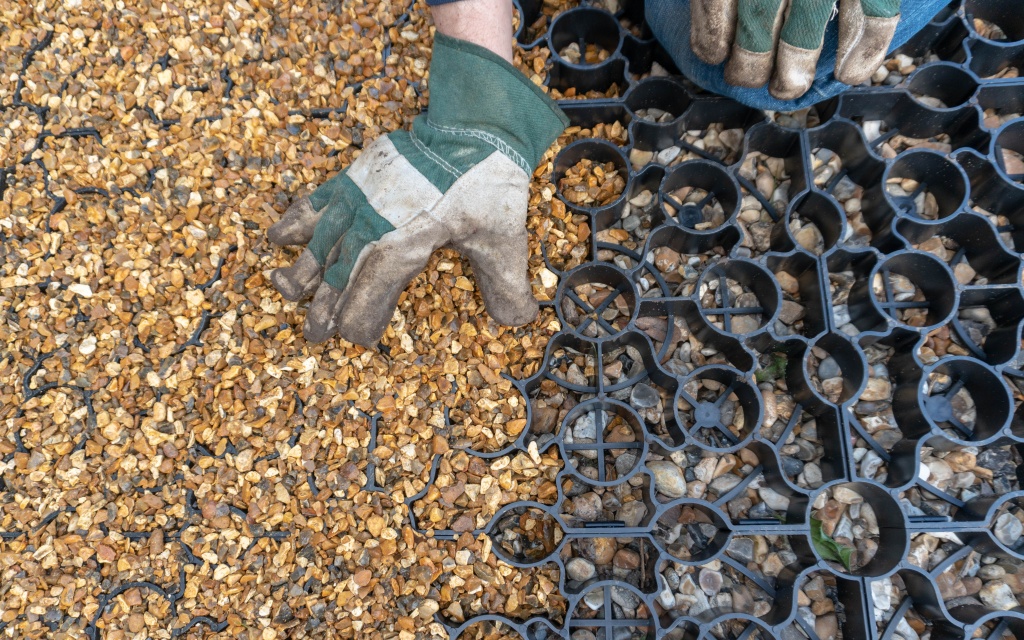
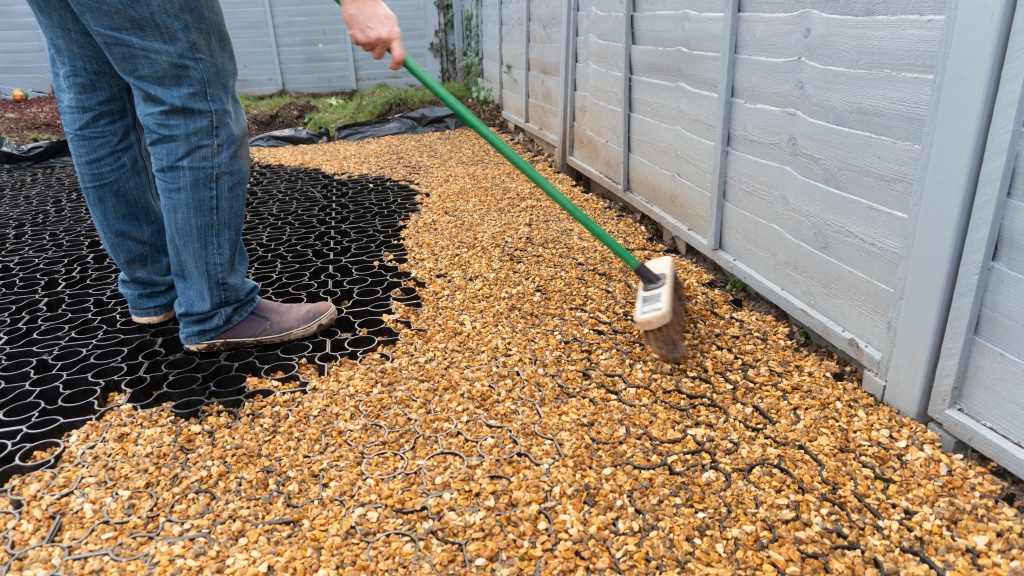
Next, fill the entire area with a suitable angular gravel or aggregate up to 20mm. By filling with gravel, it helps to create an even stronger surface to place your shed onto. Your shed base is 40mm deep and requires around 8kgs of gravel or aggregate to fill each individual panel. (Photos 11, 12 & 13)
Here is a video of Stephanie’s installation which shows just how easy it is to install your own plastic shed base:
Need a Plastic Shed Base for your garden?

